
Image Source: Google
Reclaimed timber sleepers can add a touch of rustic charm and character to any outdoor space. Whether you're looking to create a raised garden bed, a retaining wall, or a unique pathway, using reclaimed timber sleepers is a sustainable and cost-effective way to revamp your outdoor area. In this step-by-step guide, we will walk you through the process of transforming your outdoor space with reclaimed timber sleepers.
Step 1: Planning and Preparation
Before you start your project, it's essential to plan and prepare adequately. Here are some key points to consider:
Measure and Sketch
- Measure the area where you plan to install the reclaimed timber sleepers.
- Sketch a rough layout of your project, including dimensions and any specific design features.
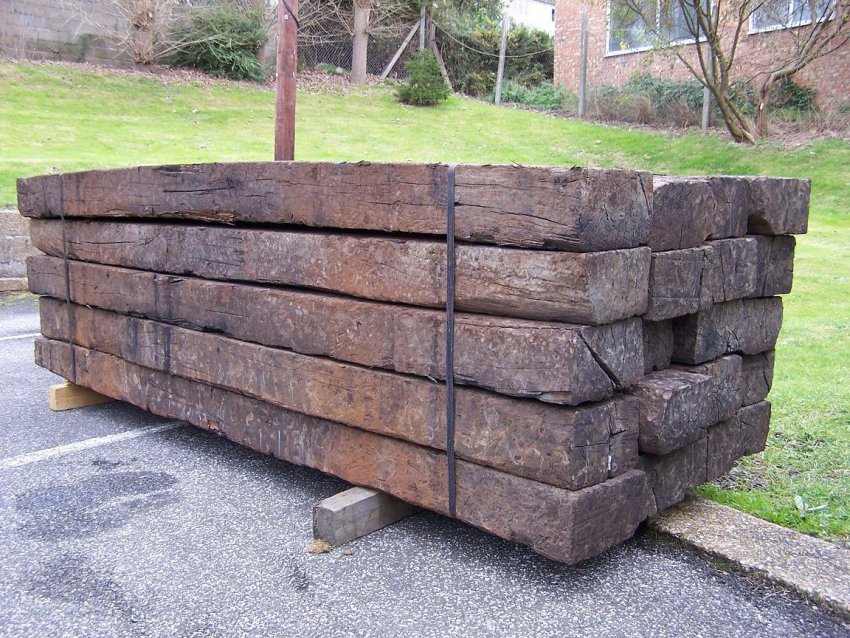
Selecting the Right Sleepers
- Choose reclaimed timber sleepers that are in good condition and free from rot or pests.
- Consider the size and length of the sleepers based on your project requirements.
Step 2: Site Preparation
Once you have your reclaimed timber sleepers and a clear plan in place, it's time to prepare the site for installation. Here's what you need to do:
Clear the Area
- Remove any existing vegetation, rocks, or debris from the site.
- Level the ground to ensure a stable foundation for the sleepers.
Mark the Layout
- Use stakes and string to mark the layout of your project according to your sketch.
- Double-check the measurements to ensure accuracy before proceeding.
Step 3: Installation
Now comes the exciting part – installing the reclaimed timber sleepers to bring your outdoor space to life. Follow these steps for a successful installation:
Cutting and Shaping
- Measure and cut the sleepers to the required length using a saw.
- If needed, use a chisel or hammer to shape the sleepers for a custom fit.
Anchor the Sleepers
- Secure the sleepers in place by driving rebar or timber stakes into the ground behind them.
- Ensure the sleepers are level and tightly packed together to form a solid structure.
Step 4: Finishing Touches
With the reclaimed timber sleepers securely installed, it's time to add the finishing touches to complete your outdoor transformation. Consider the following ideas:
Stain or Paint
- Enhance the natural beauty of the timber sleepers by staining or painting them in a color that complements your outdoor décor.
- Choose a weather-resistant finish to protect the sleepers from the elements and prolong their lifespan.
Add Plants and Decor
- Plant flowers, herbs, or shrubs in the raised garden bed created by the sleepers.
- Decorate the retaining wall with potted plants, fairy lights, or outdoor artwork to personalize your outdoor space.
Step 5: Maintenance
To ensure the longevity of your outdoor project, regular maintenance is key. Here are some maintenance tips for reclaimed timber sleepers:
Inspect for Damage
- Check the sleepers periodically for signs of rot, pests, or structural damage.
- Replace any damaged sleepers promptly to prevent further deterioration.
Seal and Protect
- Apply a protective sealant to the timber sleepers to shield them from moisture and UV rays.
- Reapply the sealant annually to maintain the integrity of the sleepers.
Conclusion
Transforming your outdoor space with reclaimed timber sleepers is a rewarding DIY project that can elevate the look and feel of your backyard or garden. By following this step-by-step guide and incorporating your creativity and personal style, you can create a unique and sustainable outdoor oasis that you can enjoy for years to come.
Leave a Reply
You must be logged in to post a comment.